
Installing Oracle Weblogic Server 11g 10.3.3 on Windows 7 64 Bit.
This WebLogic Server is the first step to install OBIEE 11g 64bit using “Software Only install” option. Download Weblogic 10.3.3 generic software (921mb) from the following link.http://www.oracle.com/technetwork/middleware/weblogic/downloads/wls-main-097127.html

Make sure you have installed JDK 64bit on your computer before executing wls1033_generic.jar. To check version of java, execute “java -version” at the command prompt. It should look like the following screenshot.Once we have correct jdk installed, execute the wls1033_generic.jar file with the following command
java -Xmx1024m -jar wlsversion_generic.jar

This WebLogic Server is the first step to install OBIEE 11g 64bit using “Software Only install” option. Download Weblogic 10.3.3 generic software (921mb) from the following link.
In this article we will cover the installation of Oracle weblogic server 11g 10.3.3 on MS Window 7.
We download the Oracle Weblogic server from here. We started the installer and will see at the beginning the initial loading. Wait until the loading of the installer completes.
Once the installer screen pops up click Next to continue.
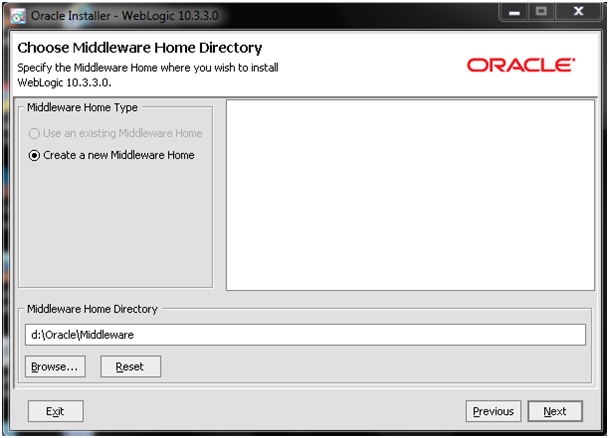
We are prompted to enter the Middle Home type and the Middleware Home Directory. In the case is entered the d:\oracle\Middleware. Press Next to continue.
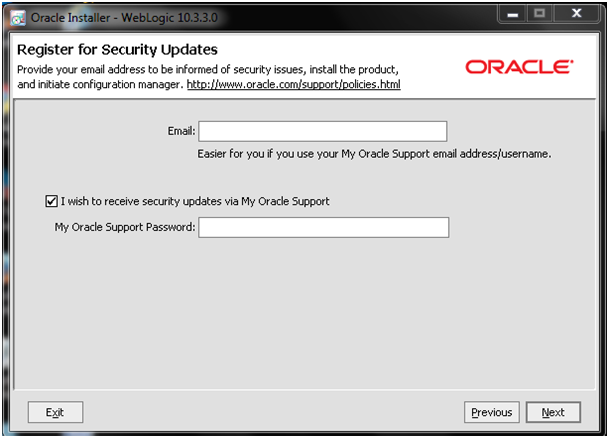
Enter the credentials to login into My Oracle support (formerly Metalink). You can skip the registration for security updates and the initiation of the Configuration manager. I will skip entering the credentials and will use smart update later. Smart update is invoked from bsu folder and is an executable file named bsu. Press Next to continue.
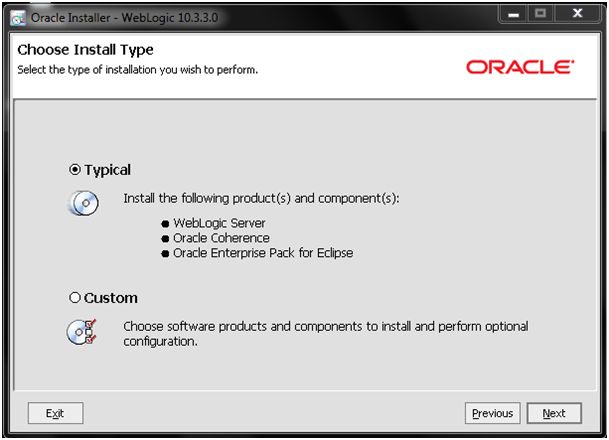
We are going to perform a single node installation and we select typical installation. Press Next to continue.
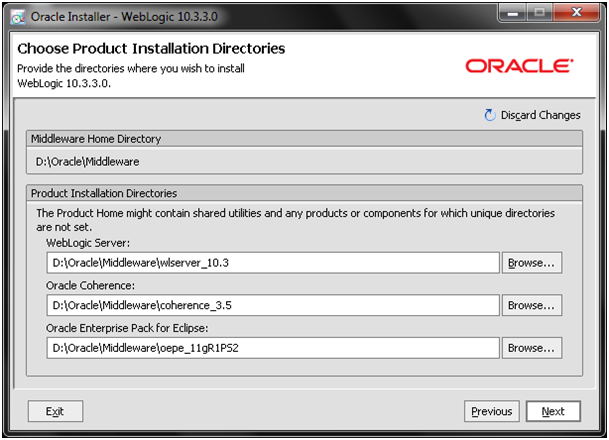
Select the directories for Oracle weblogic server install and press Next to continue.
Select the recommended option to create shortcut on all admin users. Press Next to continue.

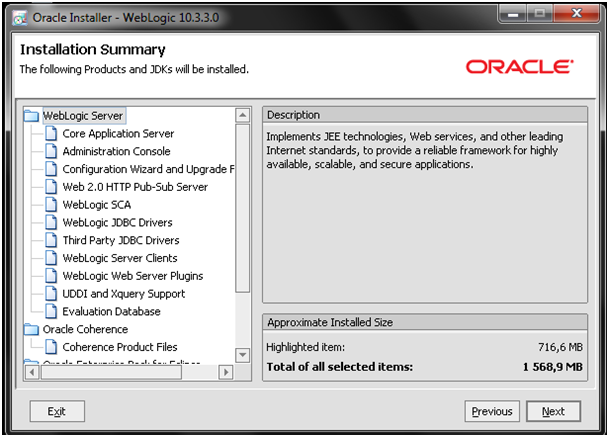
Review situated on the installation summary the components pending install. When comfortable press Next to continue.
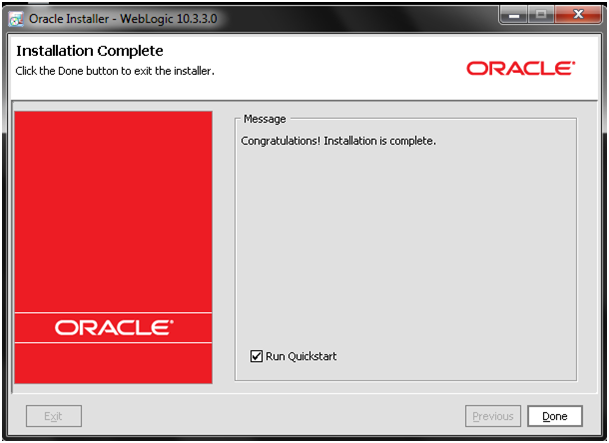
Wait until install completes and press Next to continue.

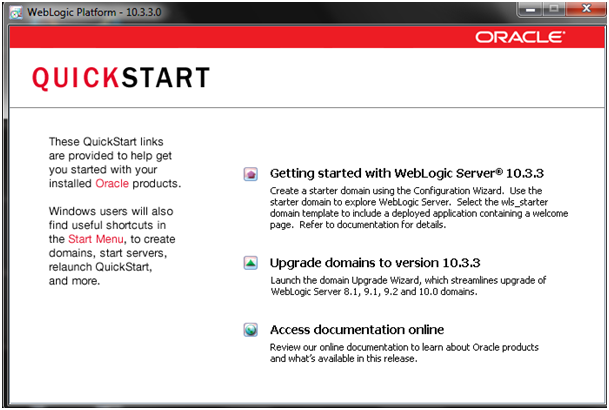
Check the quick start and press Done to launch the Quick Start.
As this is a fresh install of the Oracle WebLogic server 11g 10.3.3 select “Getting started with WebLogic Server 10.3.3″
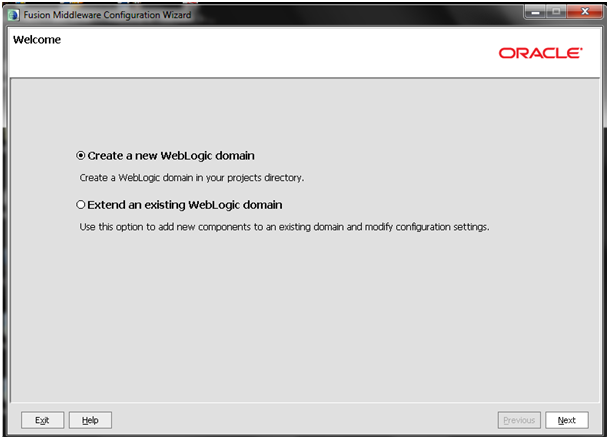
As this is a fresh installation select “Create a new WebLogic domain” and then press Next to continue.
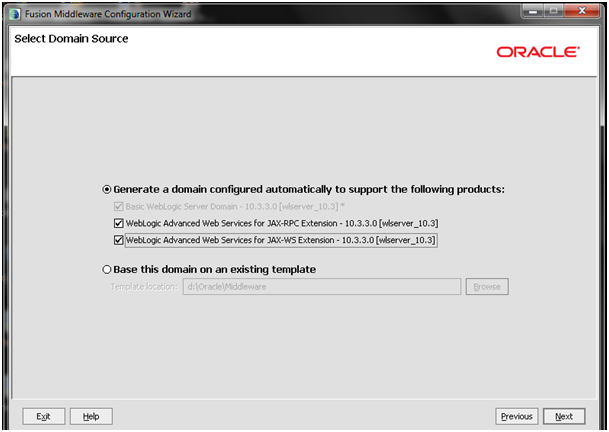
Select to “Generate a domain configured automatically to support the following products:” and check the check boxes within the category. Press Next to continue.
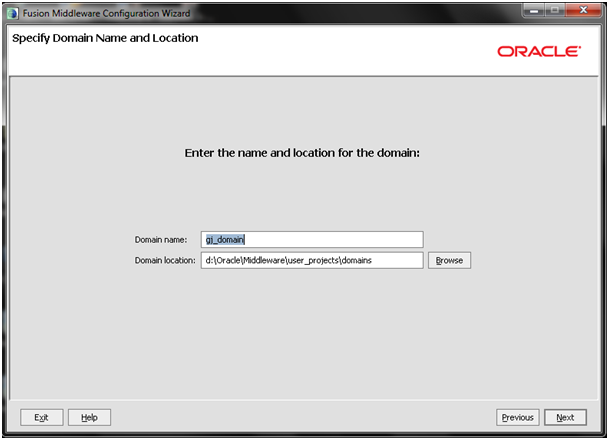
Enter the name and the location of the domain and press Next to continue.
Configure the Administrator user name and password and press Next to continue.

Configure the WebLogic domain startup mode and select the JDK. We select the Development mode and select Sun SDK. Press Next to continue.

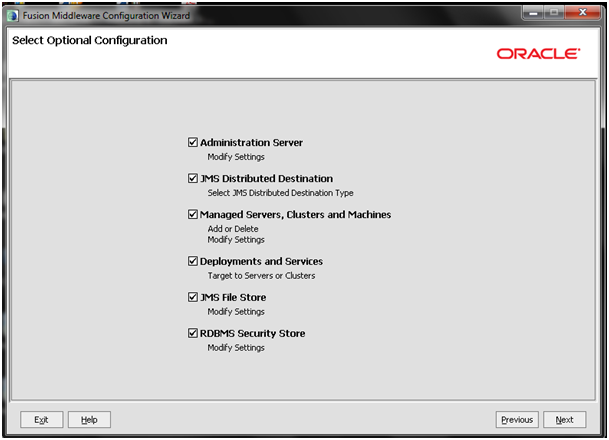
Select the optional configuration. Although this section can be left blank for information purpose we will delve and zoom in into the details.
Check all check boxes and press Next to continue.
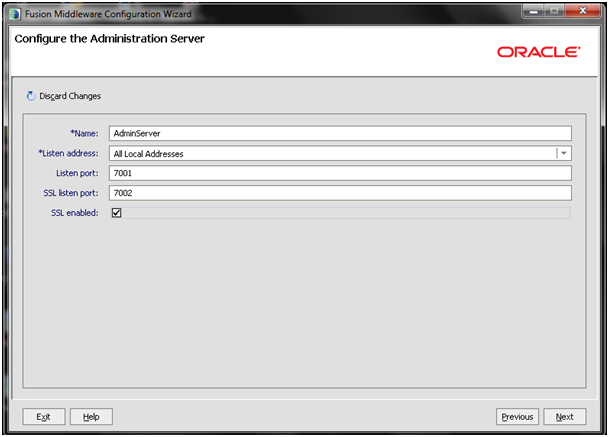
In the “Configure the Administration Server” screen select the name, IP address, http and/or https ports depending on availability of enabled SSL
Select the JMS Distributed Destination type and press next to continue.

Select an additional managed server. Select listen location (lP addresses) and the regular and SSL listen ports if SSL is enabled. Press Next to continue.

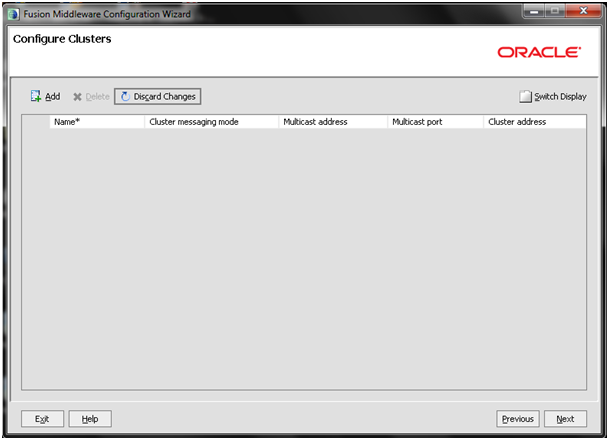
We will skip cluster configuration. This is an option for High Availability. Live screen blank and enter Next to continue.
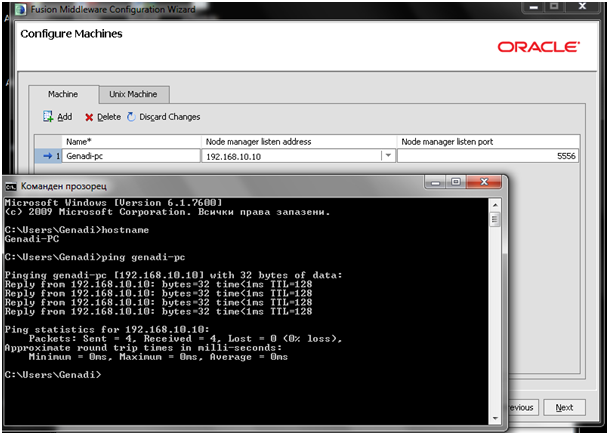
In the configure machines specify the hostname properties (hostname, IP address and port) on the machine where the install takes place. Press Nest to continue.
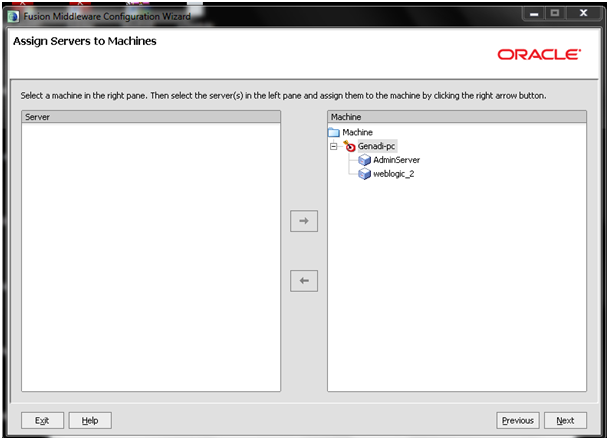
Assign servers to the machines. Press Next to continue.
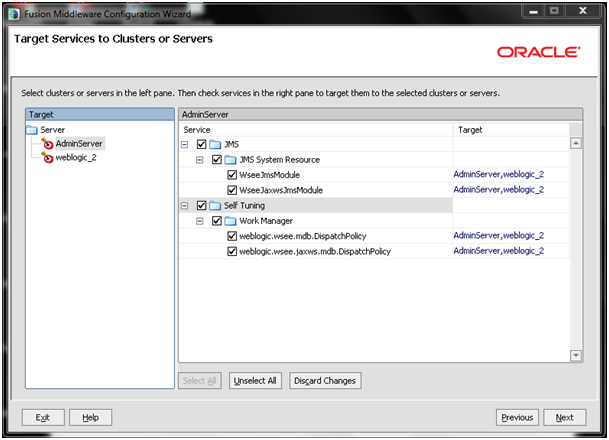
Assign a target services to the select servers and cluster. Press Nest to continue.
Configure JMS file stores and press Next to continue.

On the next screen the Oracle database security store can be configured. We will leave it blank for the moment and will press Next to configure.

We are presented the configuration summary screen to review. If this is what we have been looking for Press Next to continue.

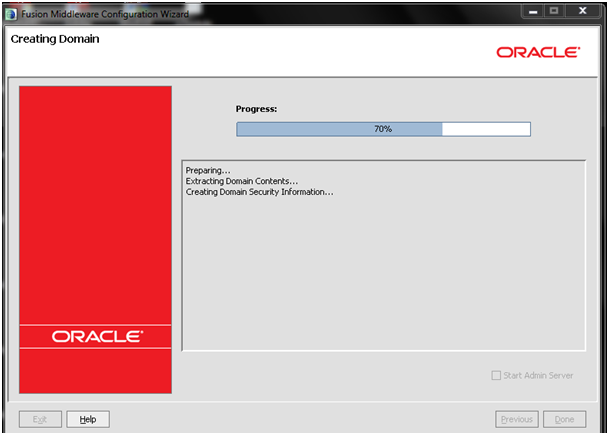
Select start admin server and wait until the installation completes. Then press Done to continue.
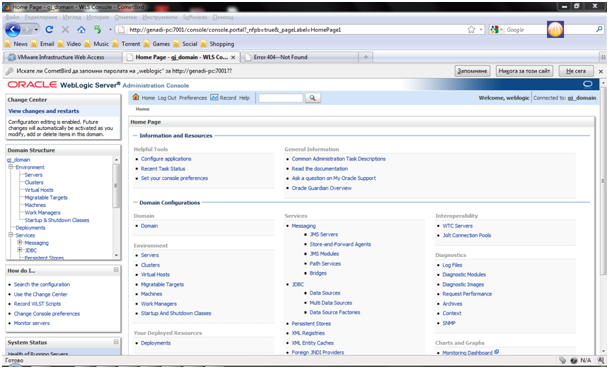
We start the web logic server and go to the URL to login into the Oracle Web logic server.

We login using the credentials that we specified when asked to specify new Oracle WebLogic Server domain and user credentials. Press Login to continue.

We can navigate into Oracle web server installation to verify that the installation succeeded.
That concludes Oracle Weblogic Server installation.
For further information please click here.
Thanks,
Satya Ranki Reddy
http://www.oracle.com/technetwork/middleware/weblogic/downloads/wls-main-097127.html
Make sure you have installed JDK 64bit on your computer before executing wls1033_generic.jar. To check version of java, execute “java -version” at the command prompt. It should look like the following screenshot.
Once we have correct jdk installed, execute the wls1033_generic.jar file with the following command
java -Xmx1024m -jar wlsversion_generic.jar
No comments:
Post a Comment